
Giving your kitchen a makeover is not only about renewing the countertop and appliances. The sink is a fundamental element to make your kitchen practical and functional. Renovating it and the siphon is essential to avoid foul odors and have quality water for cooking or cleaning.
It is not that difficult to install a kitchen sink so that you can do it yourself. Here we explain how to install a sink step by step.
Types of sinks
When installing sinks, it is crucial to consider your countertop’s material to know how to place your sink. There are several types available in the kitchen sinks:
Undermount
The countertop mounts slightly over the edges of the sink, leaving the sink underneath. They are mostly used with stone countertops.
Over countertop
If placed directly on the countertop, with the appropriate hole for the valve and drain.
Built-in
this is the most common installation method. The sink must be inserted into the recess made to measure in the countertop; the wings joined to the countertop with a sealing gasket.

In addition to the way of installation, you can also choose your sink according to its material. You can choose from stainless steel, ceramic, quartz, glass, or synthetic materials. The material can affect many aspects such as scratch, impact resistance, and lime retention capacity.
We recommend that you look at this article to explain everything you need to know about choosing sinks. If you are also interested in learning the experts’ opinion, we tell you which are the ten best sinks.
STEP 1 Place the sink
1.1. To fit the countertop sink, check that the bowl fits into the cabinet’s recess before installing it. Place the sealing gasket on the outer perimeter if it has one. If not, spread a bead of transparent silicone to guarantee the watertight seal.
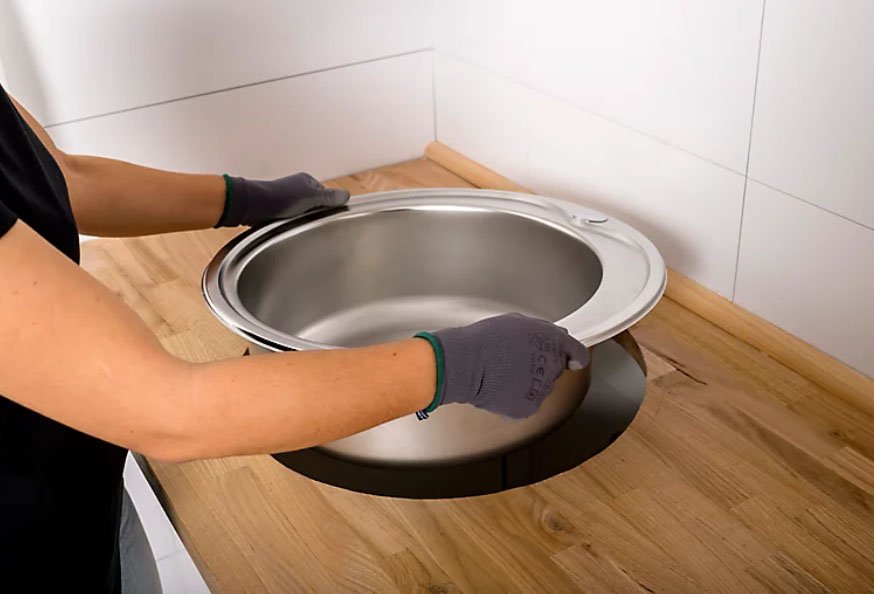
1.2. Install the sink definitively in the hollow of the countertop and center it. Press lightly if you have applied silicone. Clean quickly if the joints leave over it.
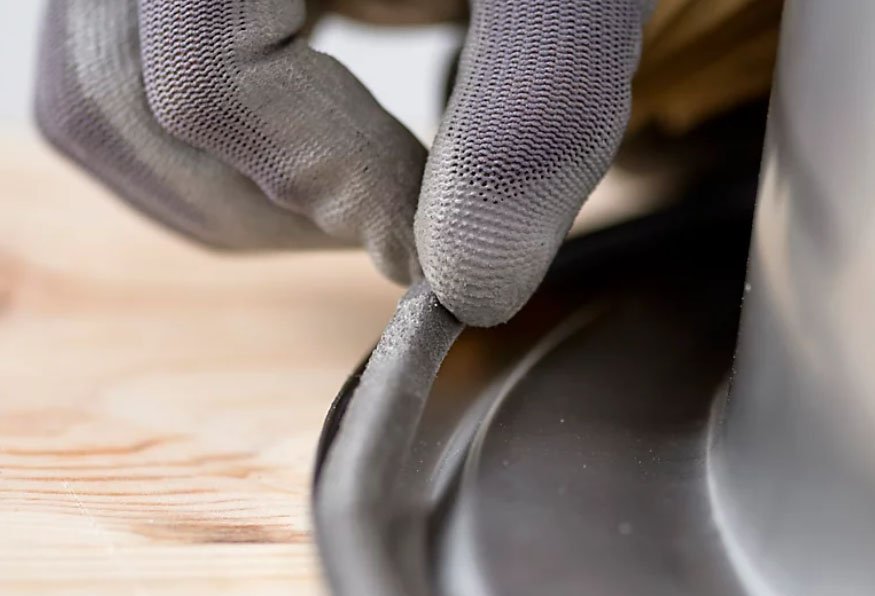
1.3. To install the undermount sink, check that there are no visible gaps and that the sink base rests equally on all parts. Place and tighten the fasteners with the screwdriver.

STEP 2 Position the valve
2.1. Place the sealing gasket and the sink valve spout from the bowl of the sink.

2.2. Underneath the toilet, place the valve in its position while holding it in place.

2.3. Screw the two parts tightly together with the dowel screw and the screwdriver, usually flat-bladed.

2.4. If the sink bowl has an overflow, the pipe leading to the drain valve must also be fixed with the sealing gasket. Present it and screw it from the inside.

STEP 3 Install the faucet
3.1. Screw the cold and hot water hoses to the base of the faucet. Do this by hand and then lightly with an open-end wrench or small wrench. It is not necessary to place gaskets, which are included in the device.

3.2. Also, screw in the screw or screws (threaded rod), depending on the tap model. Finish tightening it in the groove of the head with a flat-blade screwdriver.
3.3. Then insert the hoses through the faucet hole in the countertop or sink. As a trick, you can put the thread of one first and then the other one to fit.

3.4. Now work under the countertop and sink. Insert the sealing ring and the metal washer between the nut and the hoses. Press upwards with your hand until it stops.

3.5. Insert the clamping nut(s) into the threaded rod or bolt and tighten by hand. Finish tightening with a socket wrench. Usually 12 mm. Screw the hoses to the shut-off wrenches.

STEP 4 Attach the siphon
The siphon is essential to avoid bad smells from the installation since the kitchen does not usually have a siphon canister. The most common models are articulated and siphon-shaped with O-rings that, with the pressure, guarantee the water-tightness.
To install it, screw it to the valve outlet and attach it to the drain outlet, usually to the wall.
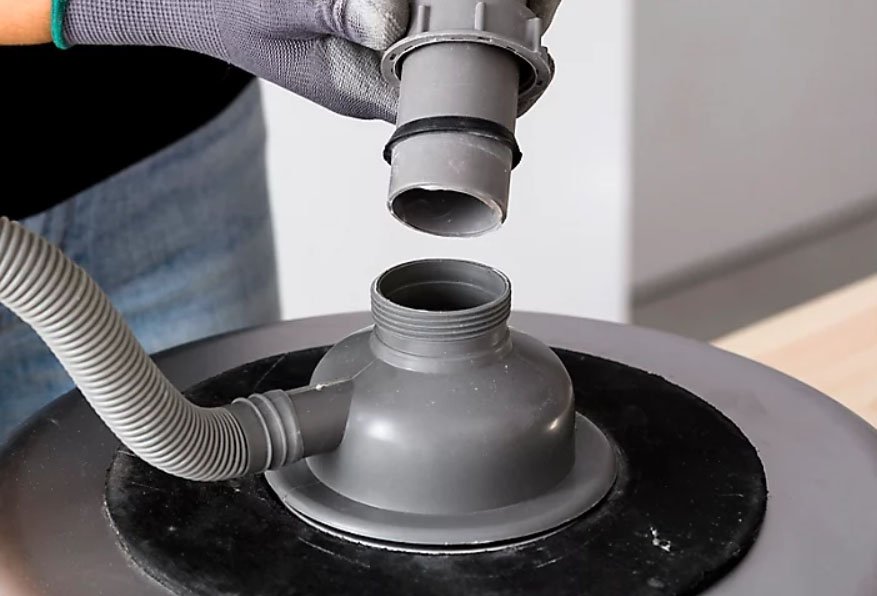
Tighten all the joints, always turning to the right.

Conclusion
Following the above steps, you have learned how to install a kitchen sink. If you have any doubts, consult an expert.